Hello there!
Where oh where has the time gone?!?!? It has been a stupid amount of time since my last post so I think it's time to get back on this train and start blogging again!
A lot has been going on this year, most of what I have been working on I can not show until the future when all is approved and what not but for now here is a sculpture commission that I have just finished up.
The awesome chap that is Rondal Scott, commissioned me to to sculpt his great character "Strange kid" Rondal runs a really awesome website/blog called www.strangekidsclub.com which I was already a reader, so I jumped at the chance to work with Rondal on this.
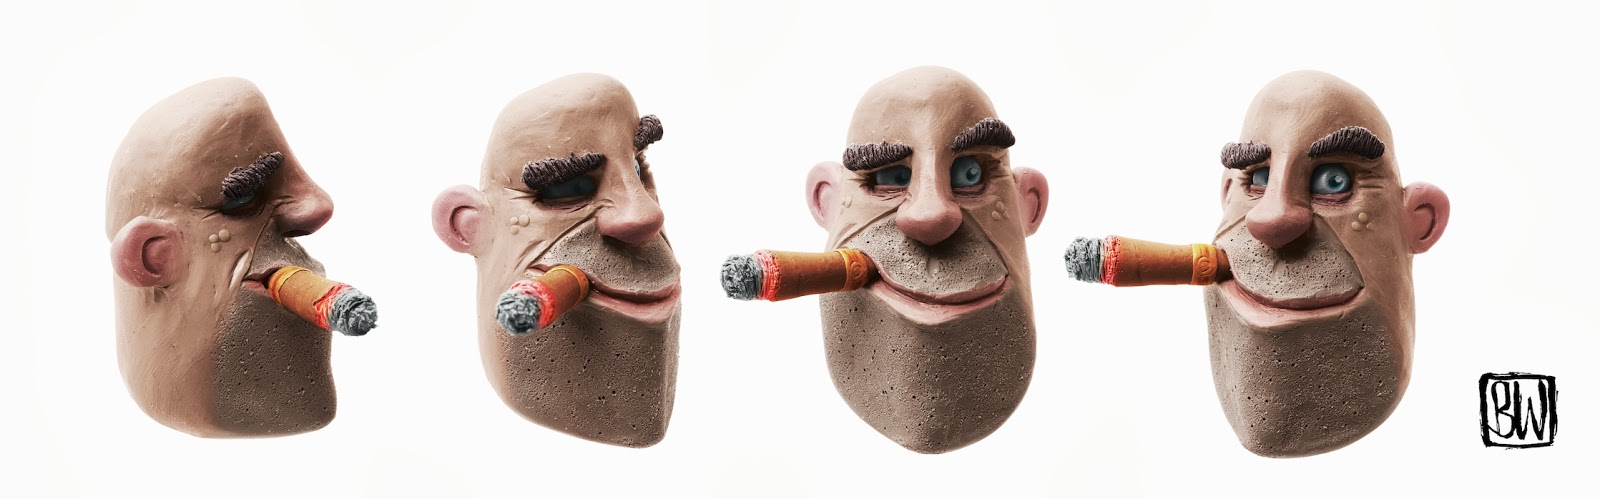
Rondal sent me over his great design and I went to work on creating it and I took a few process pictures along the way.


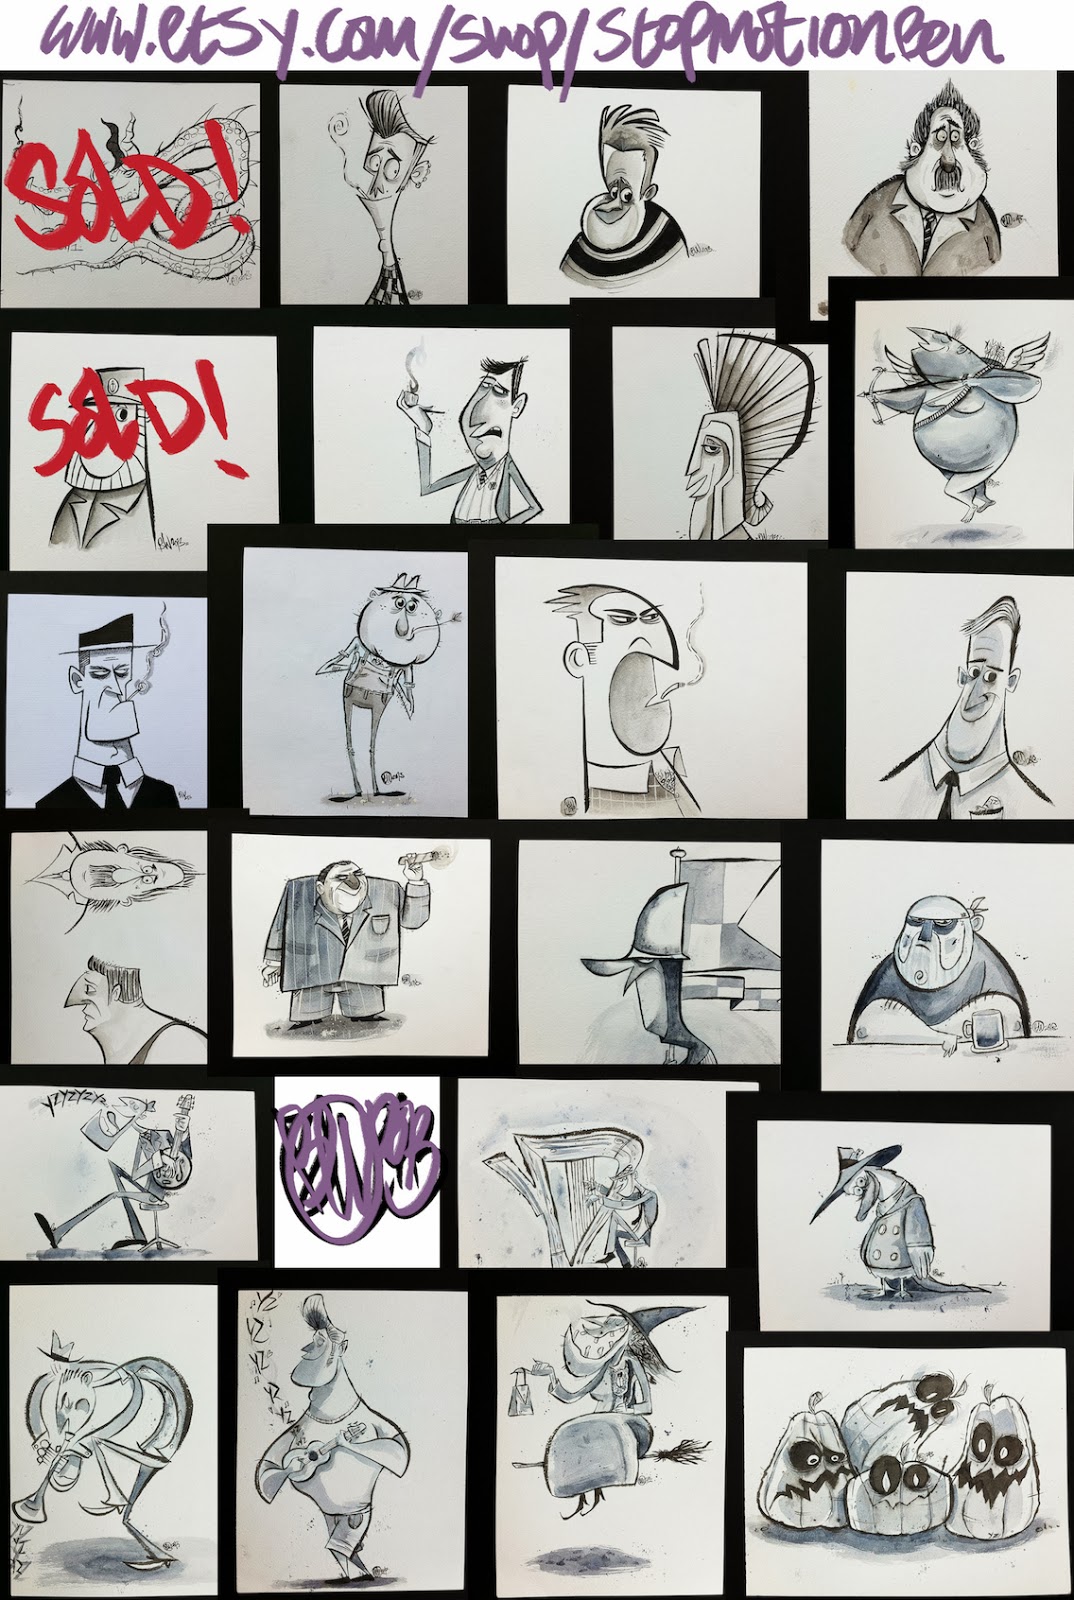
Hopefully I will have some puppet building work to post up soon. If not I can always post plenty of doodle stuff!
Where oh where has the time gone?!?!? It has been a stupid amount of time since my last post so I think it's time to get back on this train and start blogging again!
A lot has been going on this year, most of what I have been working on I can not show until the future when all is approved and what not but for now here is a sculpture commission that I have just finished up.
The awesome chap that is Rondal Scott, commissioned me to to sculpt his great character "Strange kid" Rondal runs a really awesome website/blog called www.strangekidsclub.com which I was already a reader, so I jumped at the chance to work with Rondal on this.
Rondal sent me over his great design and I went to work on creating it and I took a few process pictures along the way.
The finished sculpt prior to some clean up here and there
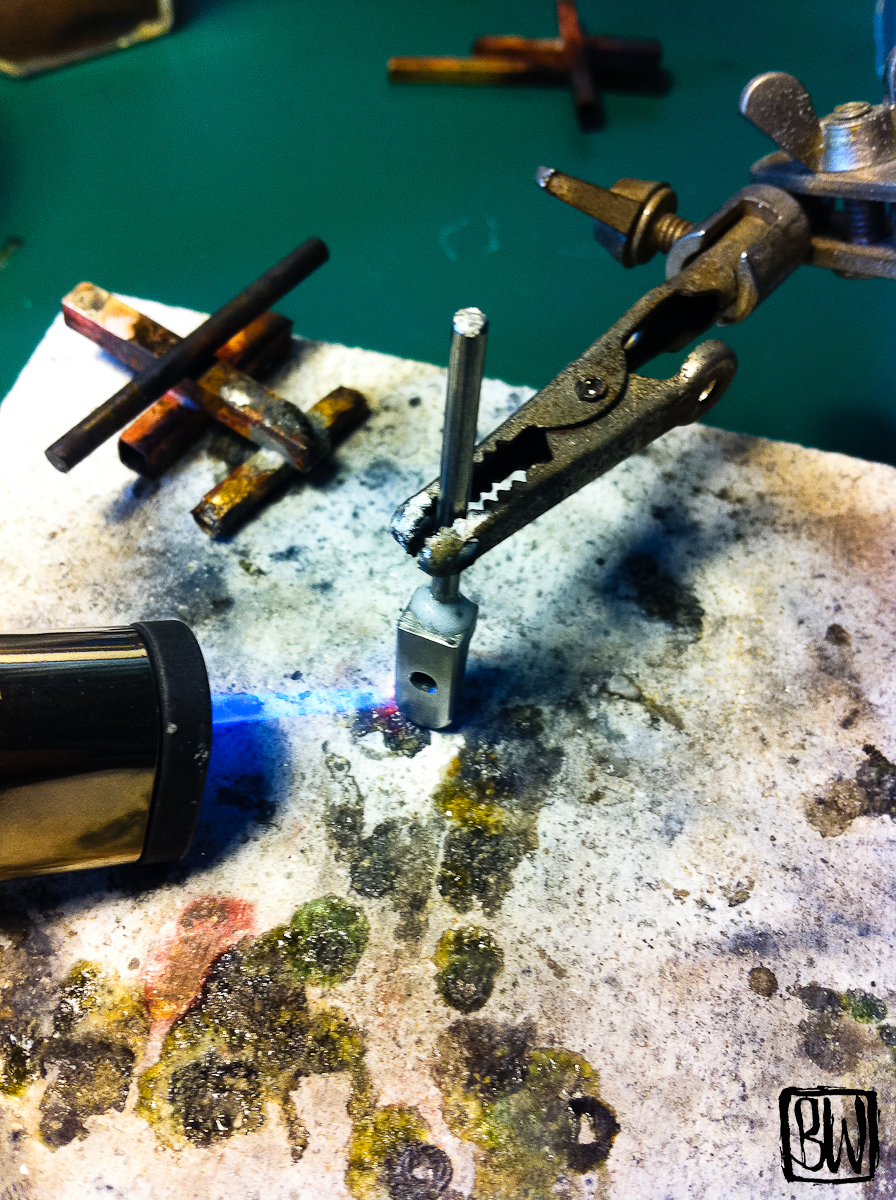
The sculpt was then thrown into some silicone to make a mould and cast in resin.
The cast came out great but needed a little filler here and there.
After the cast was cleaned up and sanded down I started up the super fun part of painting him up.
This was mostly done with airbrush but also a few small details were done by brush. I undercoated him with white then masked off the hair and painted the skin.
After the skin was finished I masked of the face leaving him this small window to see through.
After the hair I masked off the head and arms to paint the T shirt. I didn't take any photos of this though, I'm afraid.
And here is the finished chap!
I had a lot of fun doing this, especially the painting.
Hopefully I will have some puppet building work to post up soon. If not I can always post plenty of doodle stuff!